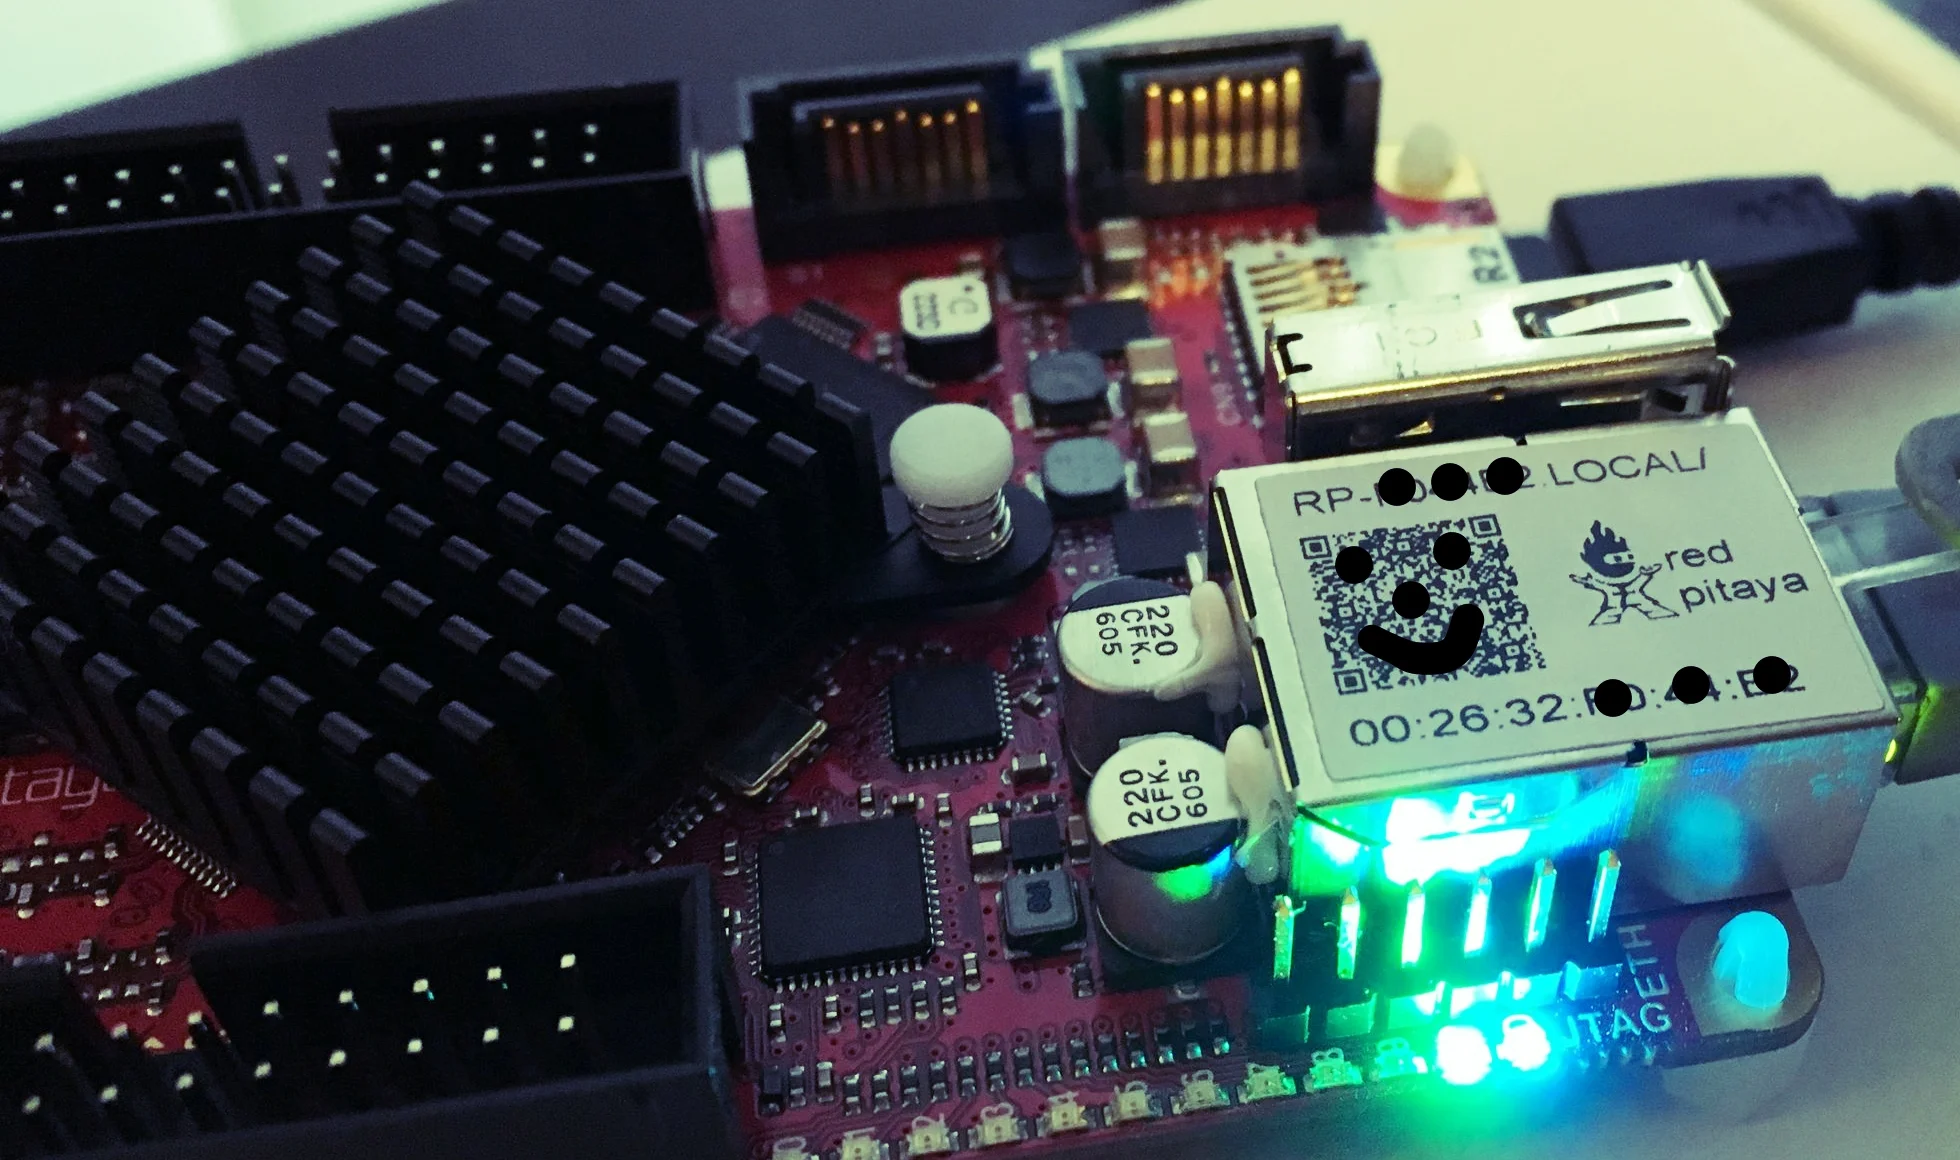
The attached quick start guide which didn't contain all the necessary parts of information after all.
OK, so today I'm gonna try to say hello to the new Red Pitaya STEMboard which arrived yesterday. This board is going to be the motor drive controller and it features two processors, an FPGA chip and a bunch of inputs and outputs.
The accompanying quick start guide seems pretty straight forward: connect power, connect network cable and visit the STEMboard's onboard website by entering its unique URL in your browser's address field.
Step 1 and 2 seemed to work out just as planned; a green light on the board indicated power supply voltage and a yellow light on the network connector indicated a link connector to the WIFI router a few meters away.
There are two micro USB-ports, one for data and one for power supply. This is indicated by the text CON and PWR respectively on the cards backside.
A single green light should indicate that everything is all right, right ?
So far so good.
The fast track experience came to a disappointing halt when trying to access the board's web page. Safari (Apple's browser for Mac computers) seems to load the URL indefinitely, while Chrome quickly gives up.
It seems like the problem is a DNS issue. As the URL is not a direct IP address, someone needs to tell the browser which IP address the URL translates to. Normally, an DNS server provides this information by look-up tables, more or less like a phone book.
Ah well, no reason to panic just yet. The quick start guide provides a URL to a dedicated troubleshooting page at Red Pitaya's home page: redpitaya.com/troubleshooting. Just too bad that the page didn't exist.
whoops.
Luckily, the correct link turned out after some snooping around: http://redpitaya.readthedocs.io/en/latest/doc/quickStart/troubleshooting/troubleshooting.html#troubleshooting
It turned out that the SD card had to be inserted as it contains the program which holds the web server and IP address configuration. Silly me. Anyhow, Red Pitaya could have noted that tiny bit of vital information in their quick start guide.
Note to self: Insert SD card prior to booting the STEMboard.
More lights = more success.
Now, of course, everything worked (as long as you use a supported browser, i.e. Chrome or FireFox).
It is pretty obvious that the main out-of-the-box usage of the STEMboard is the oscilloscope function.
The STEMboard's web page which features a bunch of possibilities for measurements etc.
However, we already have oscilloscopes and are instead planning to install Linux on one of the ARM cores and motor drive control software on the other core. The FGPA is going to handle all the I/O to and from the motor and gate drivers.
Next post will be about installing custom software.

