In an earlier post, we booted the STEMboard for the first time and verified that it was working properly.
Now, it is time to see if we can make it do something. Normally, when programmers are testing out a new programming language, it is customary to make a first program which simply prints "Hello World!".
As this is a hardware device with no screen, the equivalent would be something like blinking a diode. And that is exactly what we are going to do in a few steps:
- Connect to the Linux terminal by SSH. To find the IP-adress, simply PING the host name address which is written on the sticker on the network connector.
The default password is root
>ssh root@192.168.0.100
And you will see:
root@192.168.0.100's password:
Welcome to Ubuntu 16.04 LTS (GNU/Linux 4.4.0-xilinx armv7l)
 * Documentation:https://help.ubuntu.com
 * Management: https://landscape.canonical.com
 * Support:https://ubuntu.com/advantage
Last login: Thu Jul 14 14:27:08 2016 from 192.168.178.102
- Download the GIT repository which contains sample code written in the programming language C.
>git clone https://github.com/RedPitaya/RedPitaya.git
And Linux will start to download the whole repository. This may take a few minutes.
Cloning into 'RedPitaya'...
remote: Counting objects: 66690, done.
remote: Compressing objects: 100% (704/704), done.
remote: Total 66690 (delta 351), reused 0 (delta 0), pack-reused 65983
Receiving objects: 100% (66690/66690), 130.44 MiB | 618.00 KiB/s, done.
Resolving deltas: 100% (36386/36386), done.
Checking connectivity... done.
- The next step is to navigate to a folder containing the digital_led_blink program:
cd RedPitaya/Examples/C
You should now be ready to compile the .c-file and make an executable file which will blink one of the LED lights. But first, let's open the code and take a look:
nano digital_led_blink
The nano command will open an SSH text file editor and will display the code which will look something like this:
#include <stdio.h>
#include <stdlib.h>
#include <unistd.h>

#include "redpitaya/rp.h"

int main (int argc, char **argv) {
    int unsigned period = 1000000; // uS
    int unsigned led;

    // index of blinking LED can be provided as an argument
    if (argc > 1) {
        led = atoi(argv[1]);
    // otherwise LED 0 will blink
    } else {
        led = 0;
    }
    printf("Blinking LED[%u]\n", led);
    led += RP_LED0;

    // Initialization of API
    if (rp_Init() != RP_OK) {
        fprintf(stderr, "Red Pitaya API init failed!\n");
        return EXIT_FAILURE;
    }

    int unsigned retries = 1000;
    while (retries--){
        rp_DpinSetState(led, RP_HIGH);
        usleep(period/2);
        rp_DpinSetState(led, RP_LOW);
        usleep(period/2);
    }

    // Releasing resources
    rp_Release();

    return EXIT_SUCCESS;
}
what we can see from the code is that LED0 (that is the first LED from the left) will blink on and off 1000 times with an on and off period of 1000000 micro seconds (1 second).
Sounds great! Let's compile and run it.
To exit the nano program, press CTRL-X followed by either Y or N for saving (if you press Y, you have to press enter to confirm the file name before returning to the terminal).
The command to compile the .c-file is:
make digital_led_blink
To execute the program, you have to provide the path to the RedPitaya shared libraries explicitly by the following command:
LD_LIBRARY_PATH=/opt/redpitaya/lib ./digital_led_blink
The LED will now blink and the program will run until it is finished (after 1000 cycles / 2000 seconds) or until you halt it by pressing CTRL-C.
To make a little more interesting program, we can create Knight Rider effect by iterating through all the LEDs back and forth. This can be done by adding a few lines of code inside the while loop:
Original
while (retries--){
    rp_DpinSetState(led, RP_HIGH);
    usleep(period/2);
    rp_DpinSetState(led, RP_LOW);
    usleep(period/2);
}
Expanded
while (retries--){
    rp_DpinSetState(led, RP_HIGH);
    usleep(period/2);
    rp_DpinSetState(led, RP_LOW);
    usleep(period/2);

    //When reaching the last LED, engage reverse gear
    if (led > 7){
        reverse = true;
    }

    //When returning to the first LED, disengage reverse gear and head forward
    else if (led < 1) {
        reverse = false;
    }

    //If in reverse, go to the next LED to the left
    if (reverse) {
        led--;
    }

    //If not in reverse, proceed to next LED to the right
    else {
        led++;
    }
}
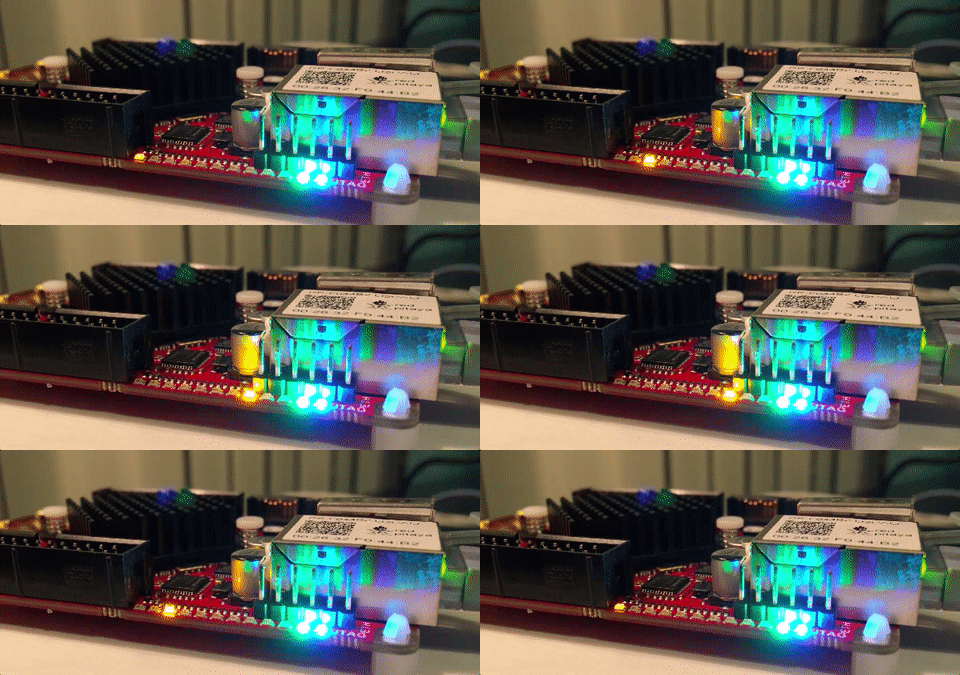
The result is shown below:
LED lights, Night Rider style


